How to create albums of Viewpoints
To make everyone’s life easier in navigating around a project, sharing information and highlighting any issues, You will need to create an album of Viewpoints.
In this lesson You will learn how to save and name a Viewpoint, organize a set of viewpoints into a folder (Your Album), change background, change render styles, adjust perspective view angles and how to use the Section tools.
Let’s get started and we’ll show you how to save viewpoints for each of the vehicles from the Car Park Challenge and arrange them in an Album.
.
Before You try our next class module, Have you read the class notes, attempted the Tetris Challenge or tried the Quiz?
Please let us know in the comments below how we can improve this course. All your feedback and comments are welcome.
Append Models and save the Federated Project
When you create a new Navisworks file, you can “Append” individual models into the project.
After opening the folder containing the required model files, check the file type list to select the type of file You want to add to your project. It is recommended to use .nwc files for Navisworks federated model projects.
Select the individual file or a group of files (Using Shift key or CTRL key) and click “Open” to Append all the files to the project.
After adding the individual model files, Save the .NWF file to your preferred file location and name it according to the Project BIM Execution Plan (BEP). If you are not following a BEP, call it something sensible for easy retrieval later.
For more information on the different Navisworks file types, CLICK HERE.
Navisworks has its own native file formats (.nwd, .nwf, .nwc); Autodesk Navisworks solutions can additionally read a combination of many popular 3D CAD formats. The following table lists the CAD file formats currently supported by Autodesk Navisworks.
| Format | Extension | File Format Version |
|---|---|---|
| Navisworks | .nwd .nwf .nwc | All versions |
| AutoCAD | .dwg, .dxf | Up to AutoCAD 2017 |
| MicroStation (SE, J, V8 & XM) | .dgn .prp .prw | v7, v8 |
| 3D Studio | .3ds .prj | Up to Autodesk 3ds Max 2017 |
| ACIS SAT | .sat .sab | All ASM SAT. Up to ACIS SAT v7 |
| Catia | .model .session .exp .dlv3 .CATPart .CATProduct .cgr | V4, v5 |
| CIS/2 | .stp | STRUCTURAL_FRAME_SCHEMA |
| DWF/DWFx | .dwf .dwfx | All previous versions |
| FBX | .fbx | FBX SDK 2017.0 |
| IFC | .ifc | IFC2X_PLATFORM, IFC2X_FINAL, IFC2X2_FINAL, IFC2X3, IFC4 |
| IGES | .igs .iges | All versions |
| Inventor | .ipt .iam .ipj | Up to Inventor 2017 |
| Informatix MicroGDS | .man .cv7 | v10 |
| JT Open | .jt | Up to 10.0 |
| NX | .prt | Up to 9.0 |
| PDS Design Review | .dri | Legacy file format. Support up to 2007. |
| Parasolids | .x_b | Up to schema 26 |
| Pro/ENGINEER | .prt .asm .g .neu | Wildfire 5.0, Creo Parametric 1.0-3.0 |
| RVM | .rvm | Up to 12.0 SP5 |
| Revit | .rvt | Up to 2017 |
| SketchUp | .skp | v5 up to 2016 |
| Solidworks | .prt .sldprt .asm .sldasm | 2001 Plus-2015 |
| STEP | .stp .step | AP214, AP203E3, AP242 |
| STL | .stl | Binary only |
| VRML | .wrl .wrz | VRML1, VRML2 |
| All versions | ||
| Rhino | .3dm | Up to 5.0 |
Before You try our next class module, Have you watched the video, attempted the Tetris Challenge or tried the Quiz?
Please let us know in the comments below how we can improve this course. All your feedback and comments are welcome.
Tetris Challenge
Now it’s Your Turn to practice using these navigation tools. You will need Navisworks Simulate or Navisworks Manage for this exercise. It is not possible to create federated models using Navisworks Freedom.
Step 1 – Please download the zipped file and extract the set of folders and NWC files to your PC!
Step 2 Open Navisworks Manage and Create a new File in Navisworks Manage.
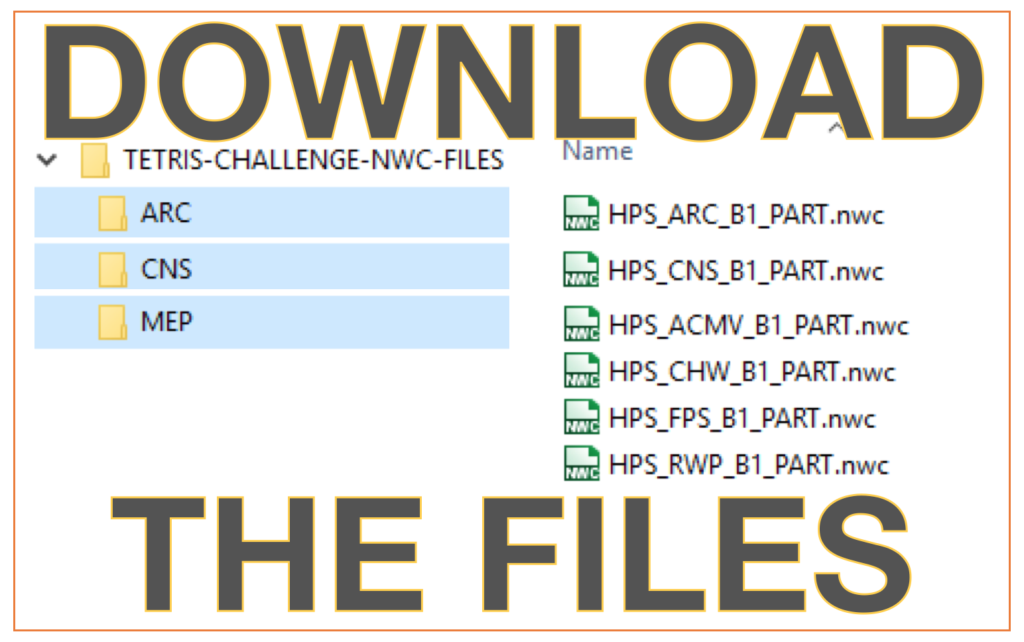
Step 3 Find the architectural, structural and MEP building services model NWC files which you just downloaded and append them in your Navisworks model.
Step 4 Save the NWF file with an appropriate name, for example, “MY-NAME-TETRIS.NWF”
Step 5 Publish the File AS an NWD for sharing with others.
Are all the components inside the basement area of Your Federated Model, or are there any elements outside the basement area?
Step 6 To complete this lesson, please share a comment below and let us know how easy or difficult it was to append all the models.
Before You try our next class module, Have you watched the video, read the class notes or tried the Quiz?
Please let us know in the comments below how we can improve this course. All your feedback and comments are welcome.
Have you watched the video, read the class notes or tried the car park challenge?
Please let us know in the comments below how we can improve this course. All your feedback and comments are welcome.